IFTTT Integration
Overview
The following example demonstrates how to trigger an action in IFTTT using a CUSTOM webhook in the ATSD rule engine.
This type of integration relies on the IFTTT Webhook trigger.
Create IFTTT Applet
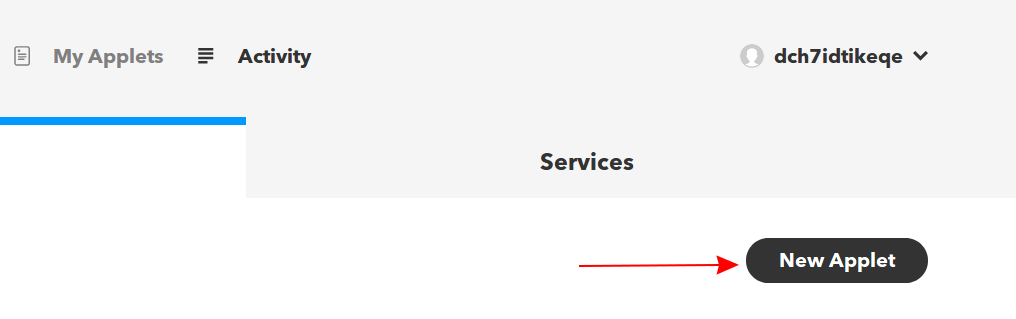
Log in to ifttt.com and open My Applets.

Click New Applet.
Click (+) this to create a trigger.
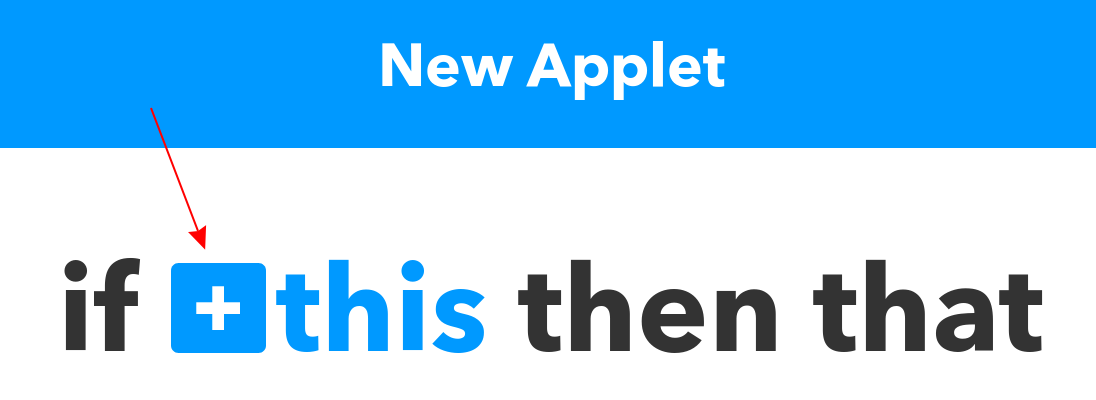
Search for Webhooks and select it.

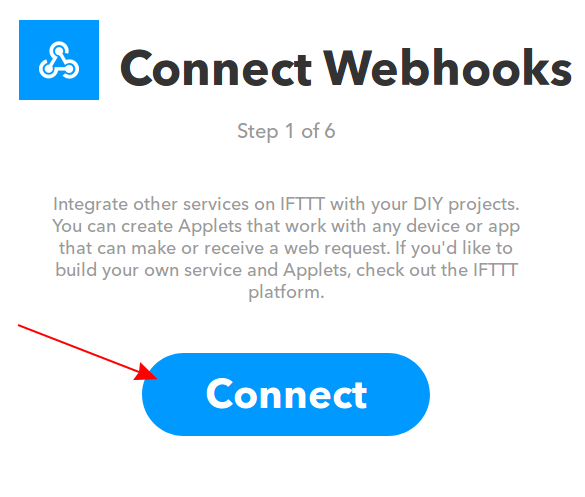
Click Connect to set up a webhook trigger.
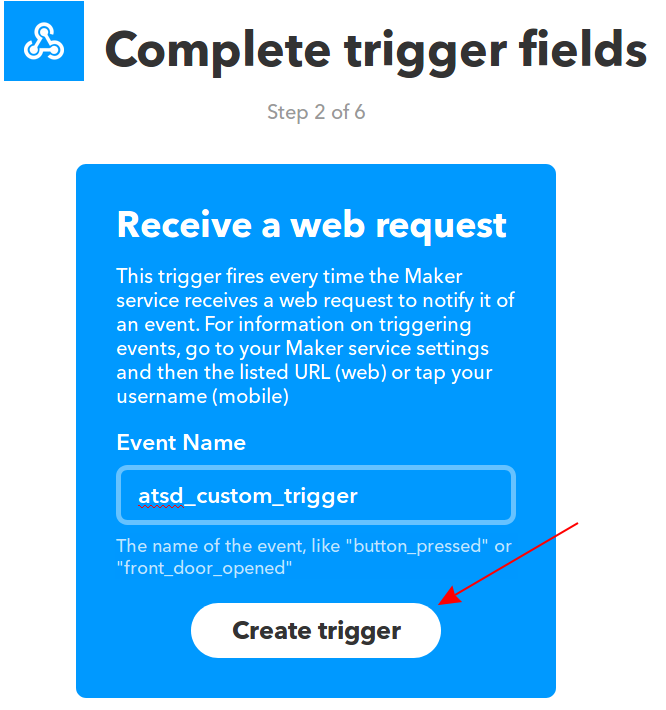
Choose Receive a web request.
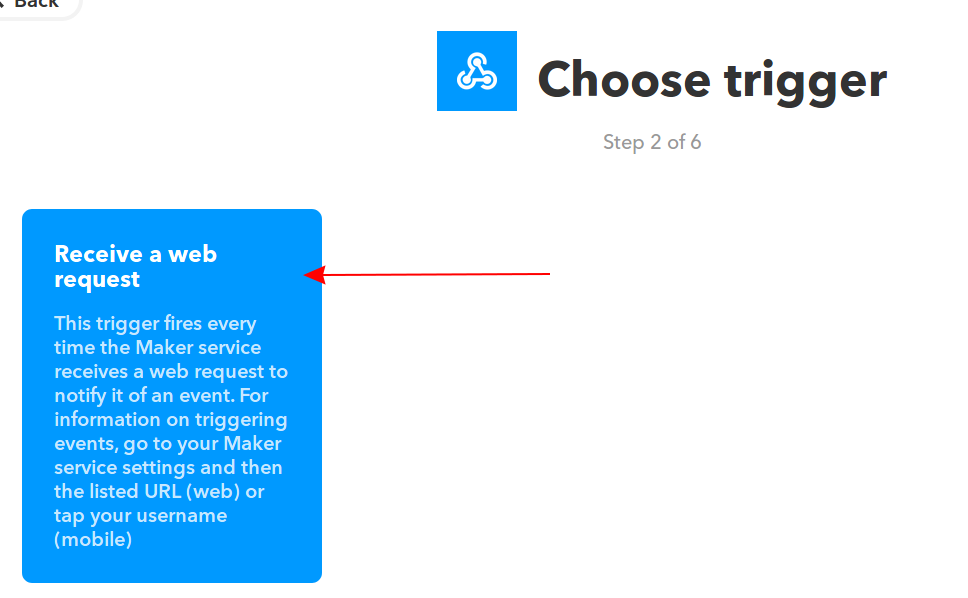
Enter an event name such as atsd_custom_trigger and click Create trigger.
Click (+) that to create a event.

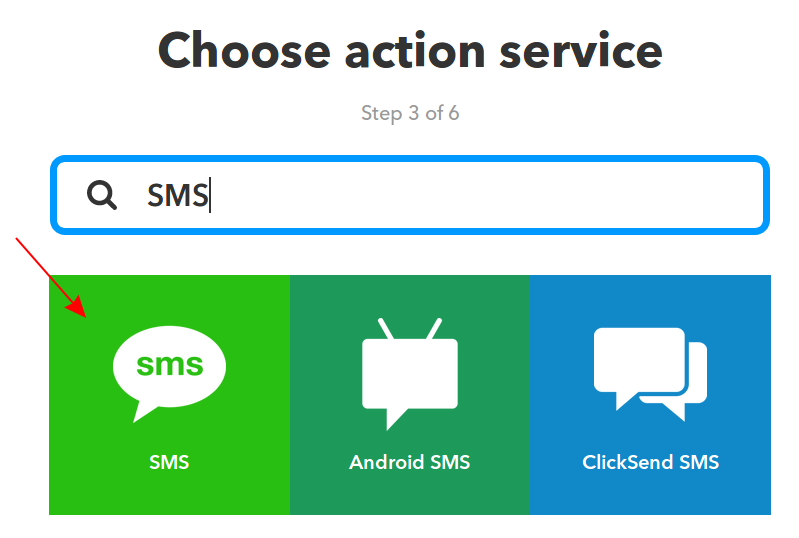
Search for SMS and select it.
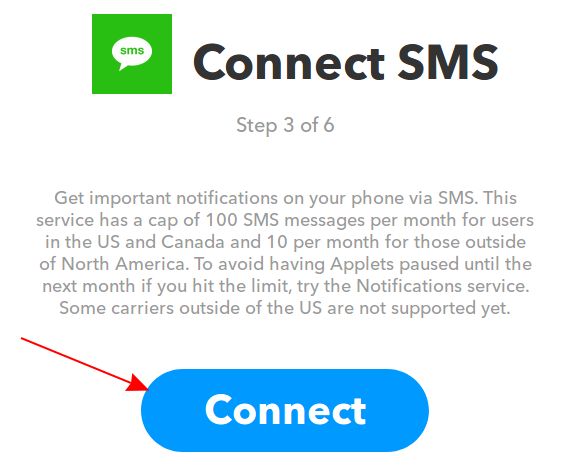
Click Connect to setup event.
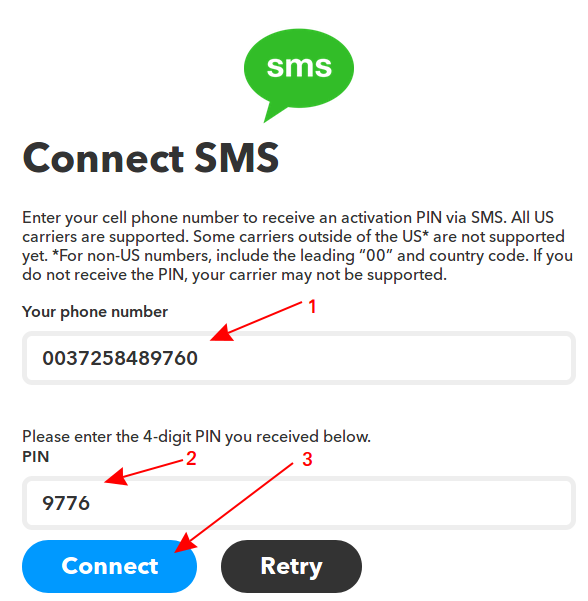
Enter a phone number to receive messages from ATSD and click Send PIN. Check your device and enter the PIN you've received. Click Connect.
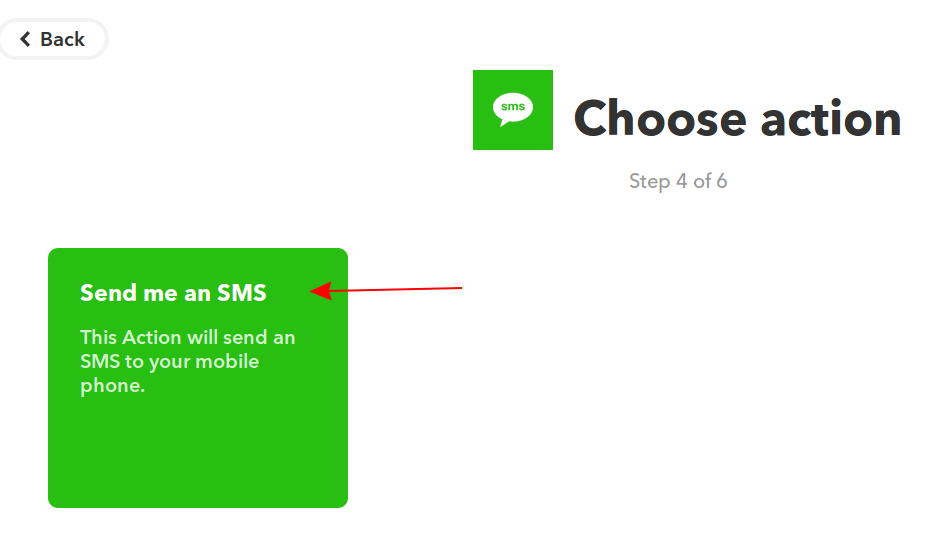
Choose Send me an SMS.
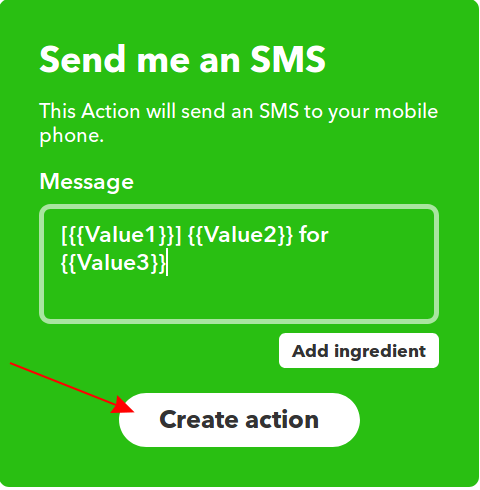
Enter following text into Message field and click Create action.
[{{Value1}}] {{Value2}} for {{Value3}}
Review changes and click Finish.
Configuration
Create a new CUSTOM webhook or import the template used in this example. To import the XML template file, open the Alerts > Outgoing Webhooks page, select Import in the split-button located below the table and complete the upload form.
To create a new notification, open the Alerts > Outgoing Webhooks page and click Create.
Parameters
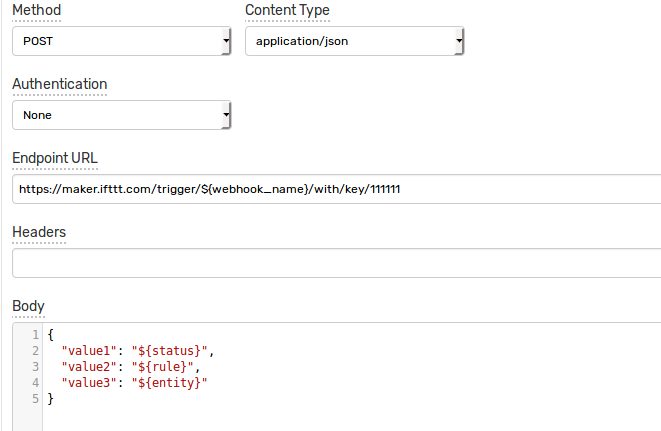
Enter a name and specify the following parameters:
| Name | Value |
|---|---|
| Method | POST |
| Content Type | application/json |
| Authentication | None |
| Endpoint URL | https://maker.ifttt.com/trigger/${webhook_name}/with/key/<IFTTT_KEY> |
Modify the Endpoint URL by replacing the <IFTTT_KEY> field with the IFTTT webhook token.
Example Endpoint URL: https://maker.ifttt.com/trigger/${webhook_name}/with/key/111111
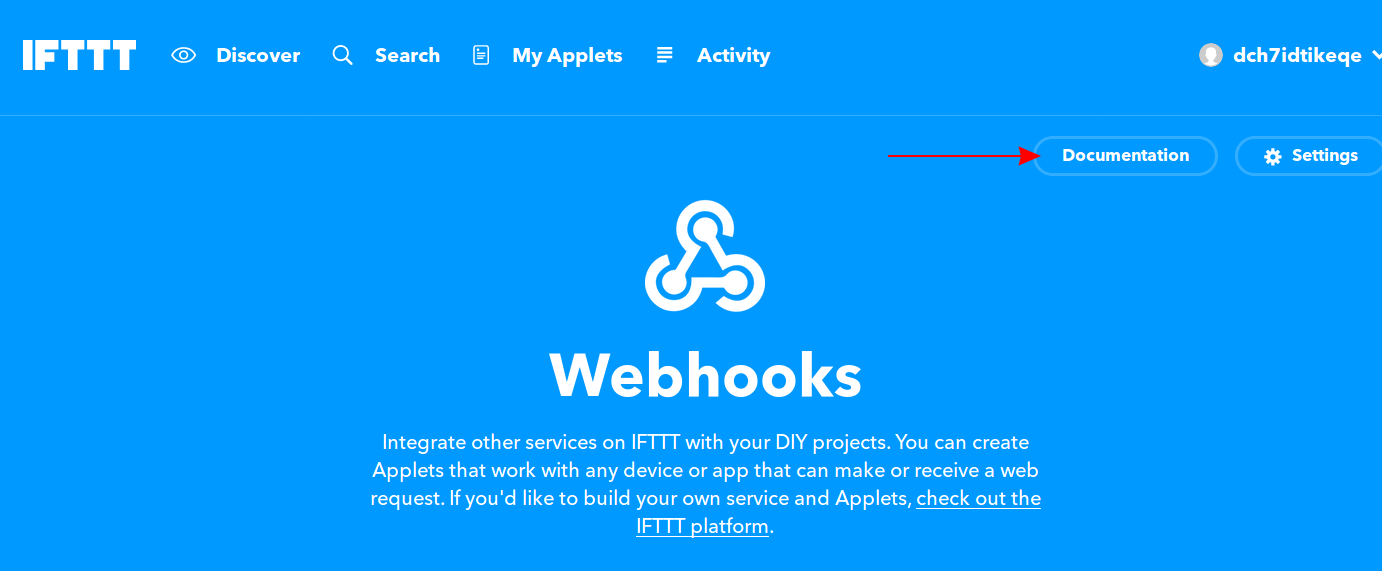
You can find your IFTTT token in the Webhooks examples. Open Webhooks and select Documentation.
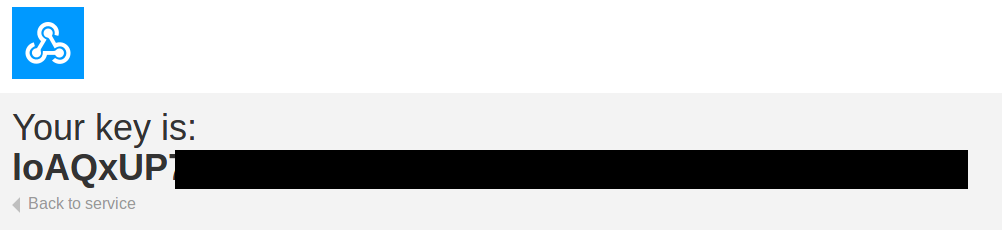
Copy the key.
Keep the ${webhook_name} placeholder in the URL path to ensure that it can be customized in the rule editor. This allows you to send SMS messages from different applets using the same webhook.
Payload
Enter the following text into the Body field:
{
  "value1": "${status}",
  "value2": "${rule}",
  "value3": "${entity}"
}
The body text contains placeholders that are substituted with actual values when the webhook is triggered.
Only valueN naming convention for JSON fields is supported by the IFTTT platform.
The placeholders specified in the payload and the URL are visible as editable parameters in the rule editor.
Rule
Create a new rule or import the rule template used in this example. To import the XML template file, open the Alerts > Rules page, select Import in the split-button located below the table and complete the upload form.
To create a new rule, open the Alerts > Rules page and click Create.
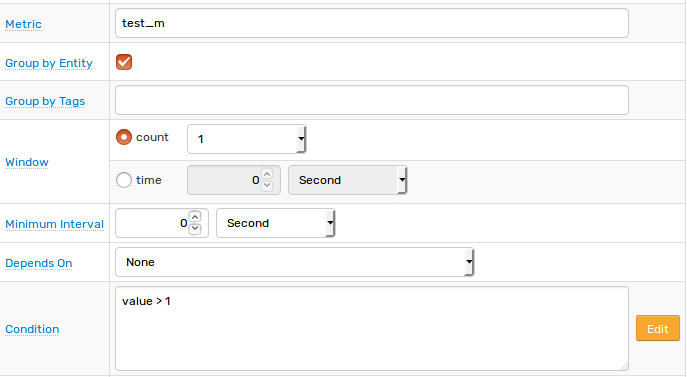
Specify the key settings on the Overview tab.
| Name | Value |
|---|---|
| Status | Enabled |
| Metric | test_m |
| Condition | value > 1 |
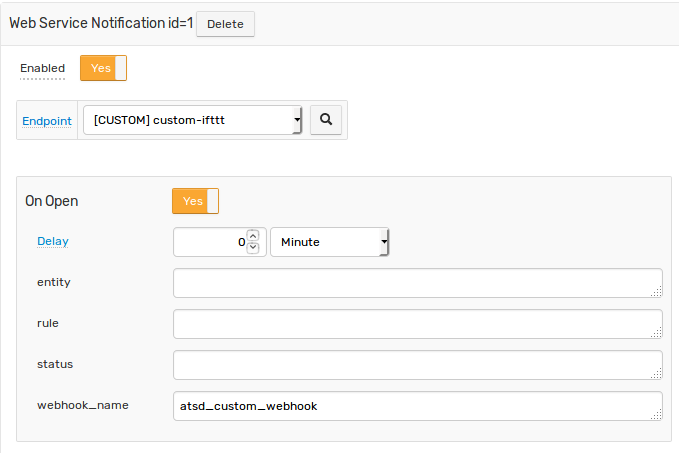
Open the Webhooks tab.
Set Enabled to Yes and choose the previously created webhook from the Endpoint drop-down.
Enable Open, Repeat and Cancel triggers. Set the Repeat Interval to All.
Specify the webhook identifier atsd_custom_webhook in the webhook_name parameter for all triggers.
The webhook_name placeholder in the request URL as well as payload placeholders are automatically resolved when the webhook is triggered.
https://maker.ifttt.com/trigger/atsd_custom_trigger/with/key/111111
{
  "value1": "OPEN",
  "value2": "IFTTT",
  "value3": "test_e"
}
Test
Test the integration by submitting a sample series command on the Data > Data Entry page.
series e:test_e m:test_m=2

The value causes the condition to evaluate to true, which in turn triggers the notification.
To verify that an alert is raised, open the Alerts > Open Alerts page and check that an alert for the test_m metric is present in the Alerts table.

Check your device to ensure the SMS is received.