HipChat Data Center Notifications
Overview
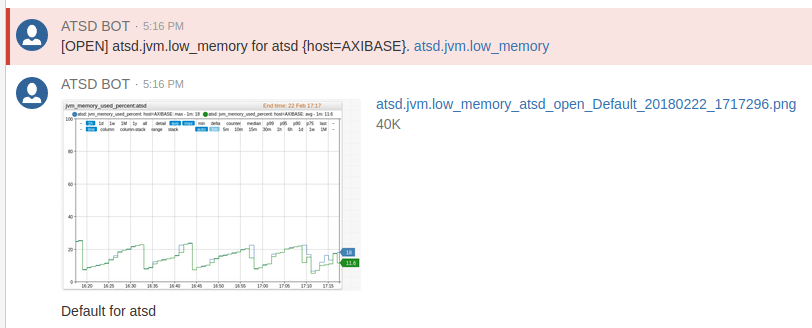
HIPCHAT webhook sends alert messages, alert detail tables, and charts into HipChat Data Center channels. The integration is based on the HipChat API v2.
Prerequisites
- Install and configure the Web Driver to send chart screenshots into HipChat.
Create Bot
Log in to HipChat as an administrator.
Click System.
Open Team Info.
Open the invitation URL, click Enable.

Copy the link.
Sign out.
Paste the above link into the browser address bar, click Enter.
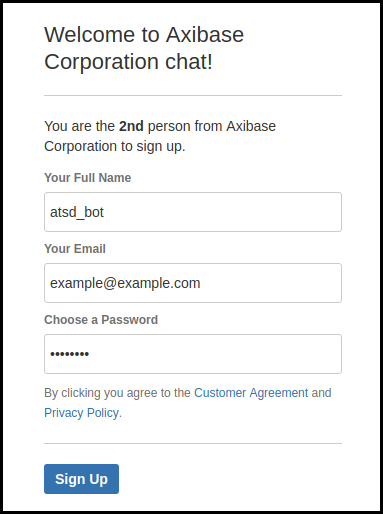
Fill in the fields, click Sign Up.
Generate Tokens
Click the bot icon in the upper right corner.
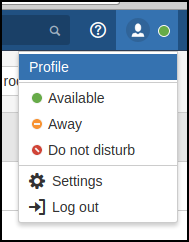
Click Profile.
Open API tokens. Ensure that you are using API v2 to avoid a warning message from the system.
Choose Send Message and the Send Notification options from the Scopes field.
Fill in the Label field.
Click Create.
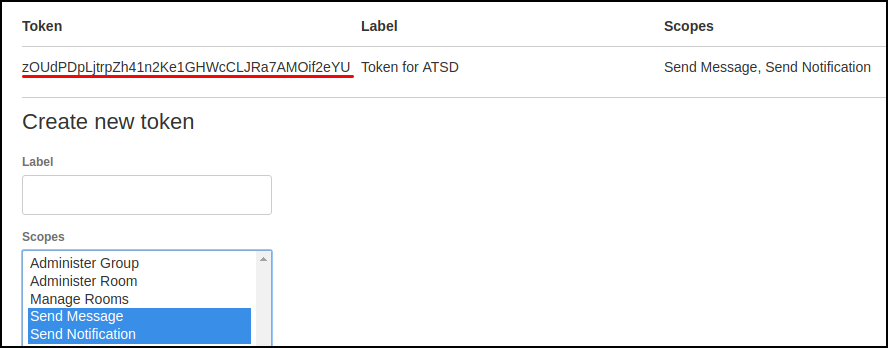
Copy the token for future reference.
Log out.
Create Room
Log in to HipChat again as an administrator.
Click Start chatting.
Click Create a room.
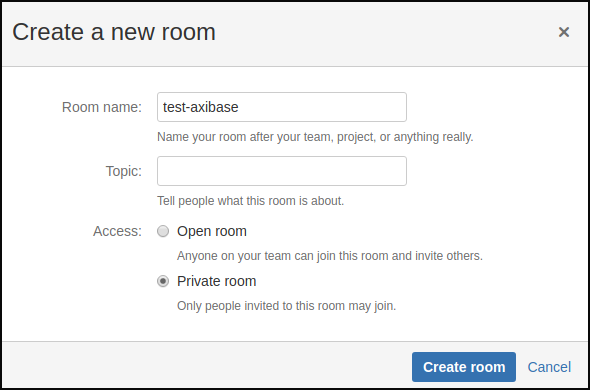
Fill in the fields, check Private room, click Create room.
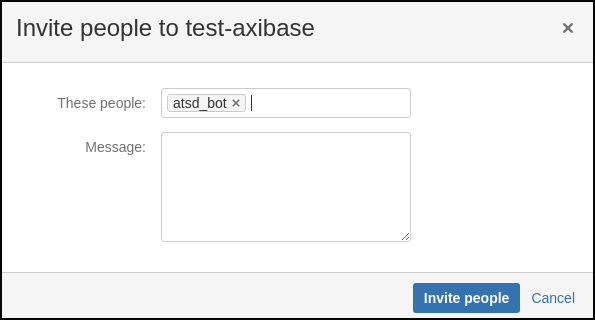
Specify members to receive notifications from ATSD, including the above bot user. Click Invite people.
Look Up Room ID
Click the team name.
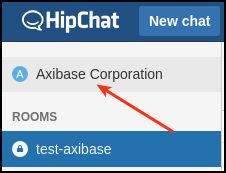
Click the newly created room.
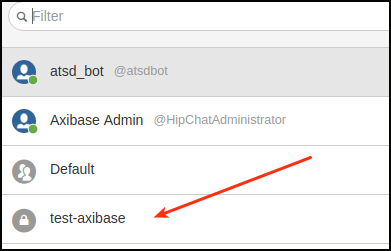
Check the URL. The last number is the room ID.
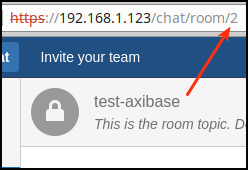
In addition to the room ID, you can search by room name, for example test-axibase, when sending messages.
Create Webhook in ATSD
Open the Alerts > Outgoing Webhooks page.
Click an existing
HIPCHATtemplate, or click Create and select theHIPCHATtype.Specify the unique
Nameof the notification.Specify the Endpoint URL.
Copy the Token from the HipChat Data Center client into the Auth Token field of the configuration form.
Copy the room ID or room name from the HipChat Data Center client into the Room ID field in the configuration form.
Select Test Portal to test the screenshot.
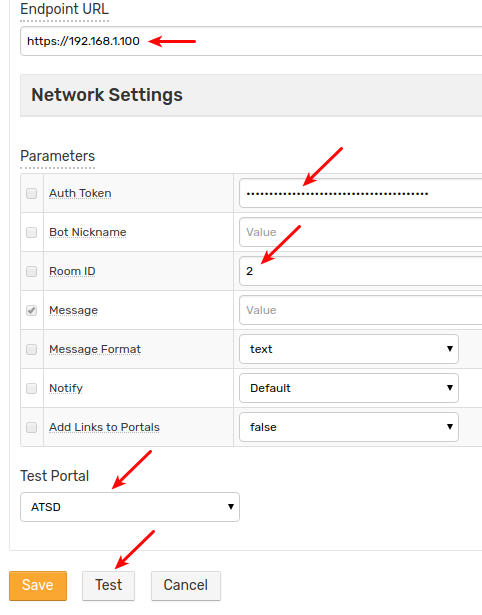
Click Test.
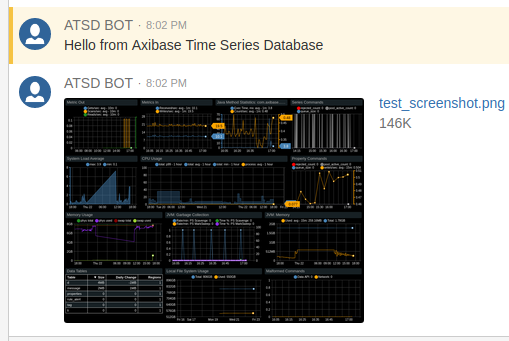
If test is passed, set the status to Enabled and click Save.
Proxy Settings
If the HipChat API server is not accessible from the ATSD server, open the Network Settings section and specify proxy parameters.
Webhook Settings
| Name | Description |
|---|---|
| Auth Token | Authorization Token with message and notifications scopes. |
| Bot Nickname | Set a name for the bot. |
| Room ID | ID or name of the room. |
| Message | Message text to be sent. Leave the field blank to make the field editable in the rule editor. |
| Message Format | Change how messages are formatted. See message_format. To ensure that the references returned by the link placeholders and the link functions are automatically inlined, specify html format. |
| Notify | Notify users when bot sends a message. |
| Add Links to Portals | Send a follow up message with chart links after each message containing portal screenshots. |
Testing
Create/import Rule
- Create a new rule or import an existing rule for a built-in metric as described below.
- Download the file rules.xml.
- Open the Alerts > Rules > Import page.
- Check (enable) Auto-enable New Rules, attach the
rules.xmlfile, click Import.
Configure Webhook
- Open the Alerts > Rules page and select a rule.
- Open the Webhooks tab.
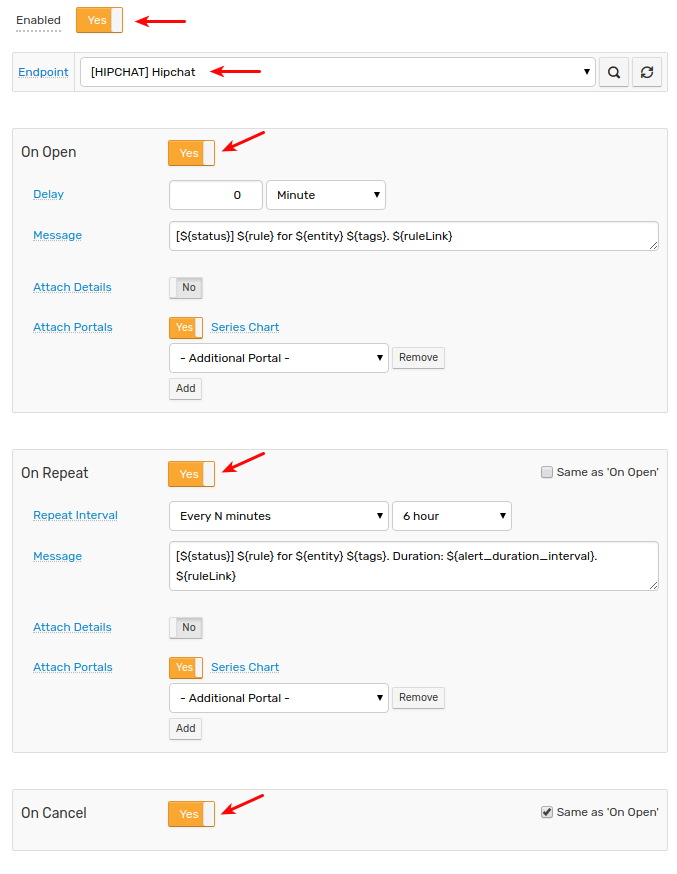
- Select HipChat from the Endpoint drop-down.
- Enable the
OPEN,REPEAT, andCANCELtriggers. - Customize the alert message using placeholders as necessary, for example:
OPEN = [${status}] ${rule} for ${entity} ${tags}. ${ruleLink}
REPEAT = [${status}] ${rule} for ${entity} ${tags}. Duration: ${alert_duration_interval}. ${ruleLink}
CANCEL = [${status}] ${rule} for ${entity} ${tags}. Duration: ${alert_duration_interval}. ${ruleLink}
Click Save to save the rule.
The rule creates new windows when new commands are received by the database.
It can take a few seconds for the first commands to arrive and to trigger notifications. Refresh the Alerts > Open Alerts page to verify that an alert is open for your rule.
Examples
The alert color depends on the severity level specified in the Logging tab.
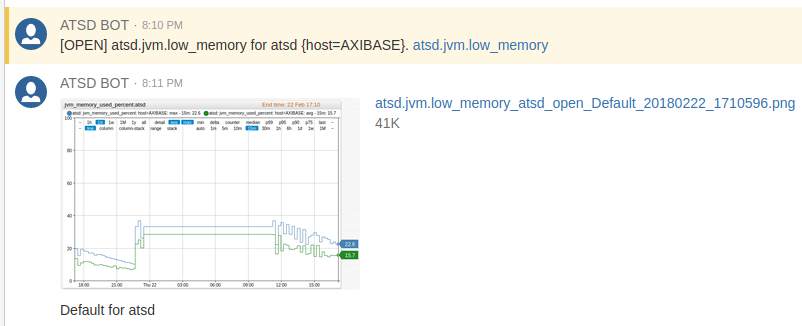
Warning alert:
Critical alert:
