Slack Notifications
Overview
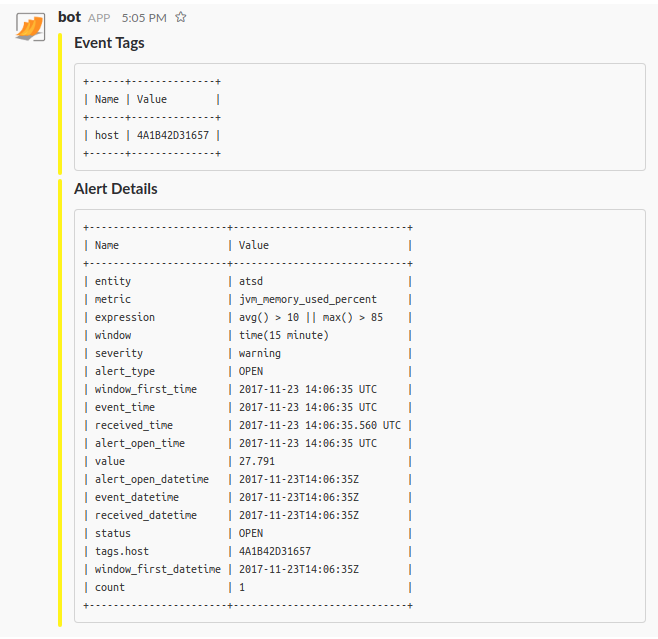
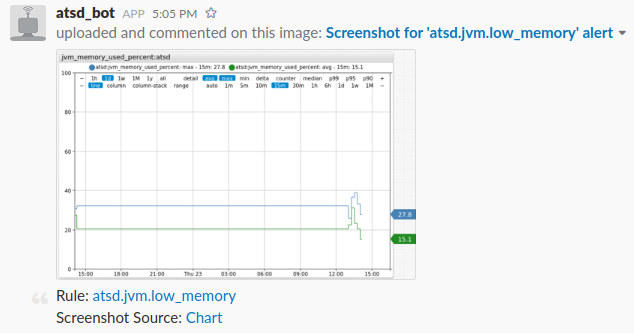
SLACK webhook provides a capability to send alert messages, alert detail tables, and charts into Slack channels. The integration is based on the Slack Bot API.
Reference
- Prerequisites
- Create Workspace
- Create Channel
- Create Bot
- Add Bot to Channel
- Get Channel Id
- Configure Webhook in ATSD
- Proxy Settings
- Webhook Settings
- Reacting to Bot Messages
- Testing Rule
- Examples
Prerequisites
Install and configure the Web Driver to send chart screenshots into Slack.
Create Workspace
Create a Slack workspace, if necessary.
Create Channel
If necessary, create new channel as described here.
Create Bot
Slack Bot is a special account created for automation purposes.
Open Slack Apps
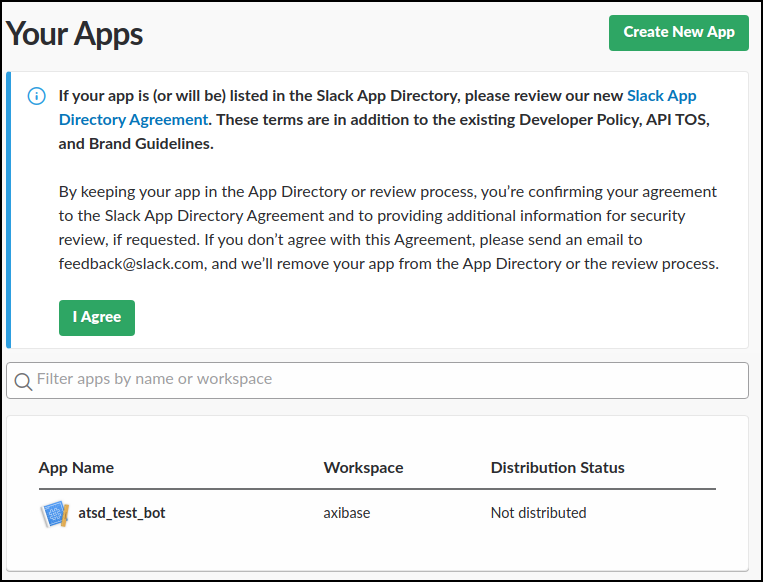
Select an existing app or create a new one.
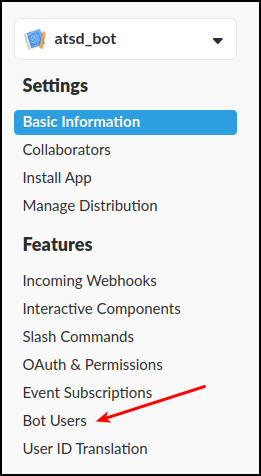
Create a bot user.
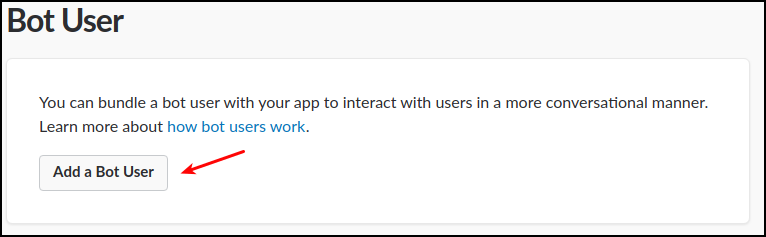
Click Bot Users.
Click Add a Bot User.
Review Settings, click Add Bot User.
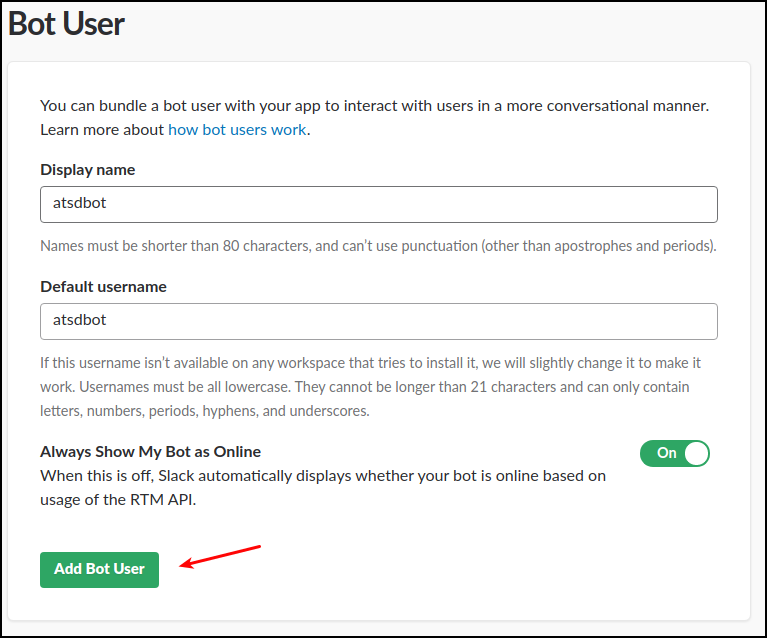
Click Save Changes.
Add Bot to Channel
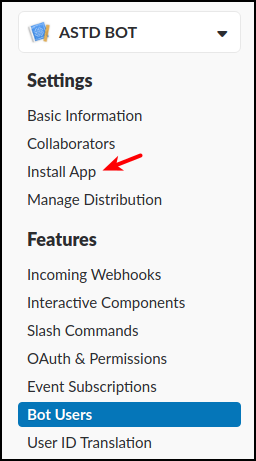
Click Install App.
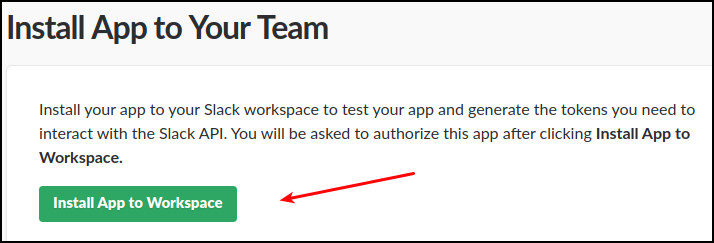
Click Install App to Workspace.
Review permissions, click Authorize.
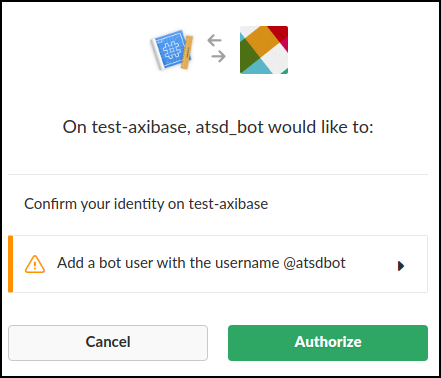
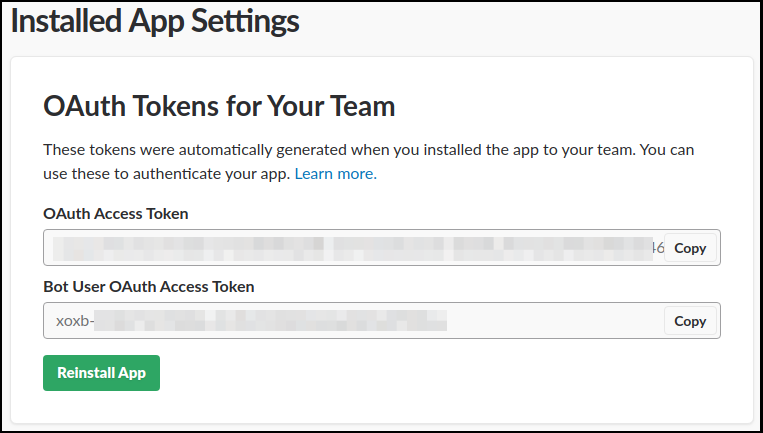
Copy the Bot User OAuth Access Token for future reference.
Open Slack workspace, click bot name in the Apps section.

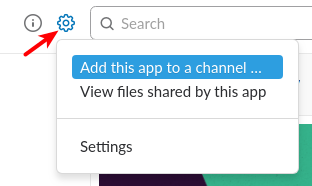
Click Conversation Settings and Add this app to a channel ....
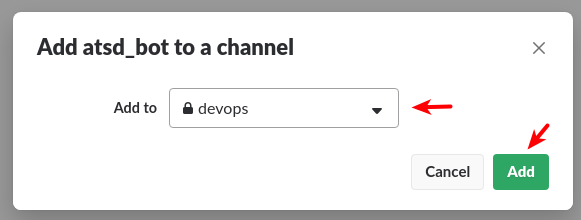
Select the channel, click Add.
Get Channel Id
Click the target IM/public/private channel to display the channel URL, for example
messages/D822261LK/team/U81D8UY64/.
Copy the channel ID, which is specified between the
messages/and/teamparts, for exampleD822261LK.
When sending messages to either a public or private channel you can just use the name of the channel instead of its ID, for example devops or general.
Configure Webhook in ATSD
Open the Alerts > Outgoing Webhooks page.
Click an existing
SLACKtemplate, or click Create below and select theSLACKtype.Specify the unique Name of the notification.

Specify the Auth Token and Channels parameters. See parameter descriptions below.
Select Test Portal to verify screenshot delivery.
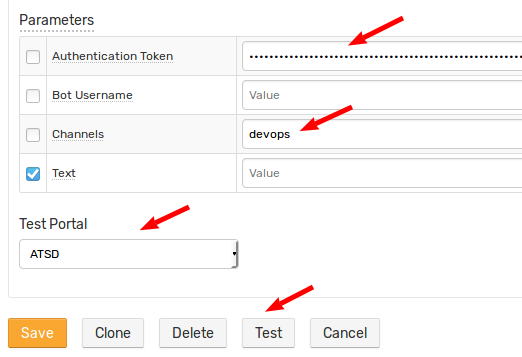
Click Test

If test is passed, check Enable, then click Save.
Proxy Settings
If the Slack API server is not accessible from the ATSD server, open the Network Settings section and specify proxy parameters.
NGINX API Gateway Path for Slack:
location /api/chat.postMessage {
    proxy_pass https://slack.com/api/chat.postMessage;
}
location /api/files.upload {
    proxy_pass https://slack.com/api/files.upload;
}
Webhook Settings
| Setting | Description |
|---|---|
Auth Token | Bot API authentication token (see above). |
Bot Username | Set your bot user name. |
Channels | Comma-separated list of channels, private groups, or IM channels to send message to. Each entry can be a name or an encoded ID. |
Text | Message text to be sent. Leave the field blank to make the field editable in the rule editor. |
Parse Mode | Change how messages are formatted. See Basic message formatting for more information. |
Names as Links | Find and link channel names and usernames. |
Reacting to Bot Messages
The bot account can be used both to deliver notifications to end users, as well as to react to messages received by the bot itself.
To process incoming messages, configure an outgoing webhook. The webhook integration requires ATSD server to be reachable from Slack API servers.
Testing Rule
Create/import rule
- Create a new rule or import an existing rule for a built-in metric as described below.
- Download the file rules.xml.
- Open the Alerts > Rules > Import page.
- Check (enable) Auto-enable New Rules, attach the
rules.xmlfile, click Import.
Configure Webhook
- Open the Alerts > Rules page and select a rule.
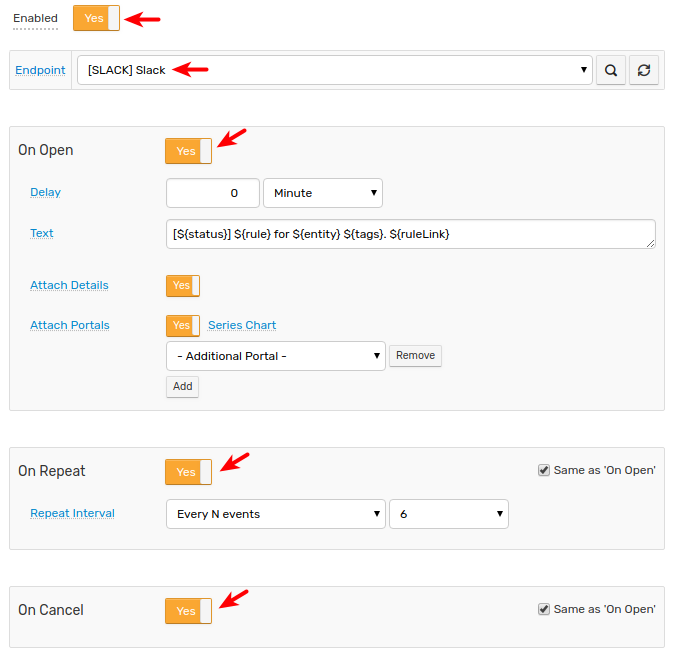
- Open the Webhooks tab.
- Select Slack from the Endpoint drop-down.
- Enable the
OPEN,REPEAT, andCANCELtriggers. - Customize the alert message using placeholders as necessary, for example:
[${status}] ${rule} for ${entity} ${tags}. ${ruleLink}
Save the rule by clicking Save.
The rule creates new windows when new commands are received by the database.
It can take a few seconds for the first commands to arrive and to trigger the webhook. Refresh the Alerts > Open Alerts page to verify that an alert is open for your rule.
Examples