Slack Webhook
Overview
The Slack Events API allows sending messages into ATSD using its webhook endpoint.
The following document describes how to create a Slack Bot that copies messages received from other Slack users in the same Slack workspace into ATSD.
The ATSD can then be programmed to respond to received commands by means of sending information back into Slack.
Reference
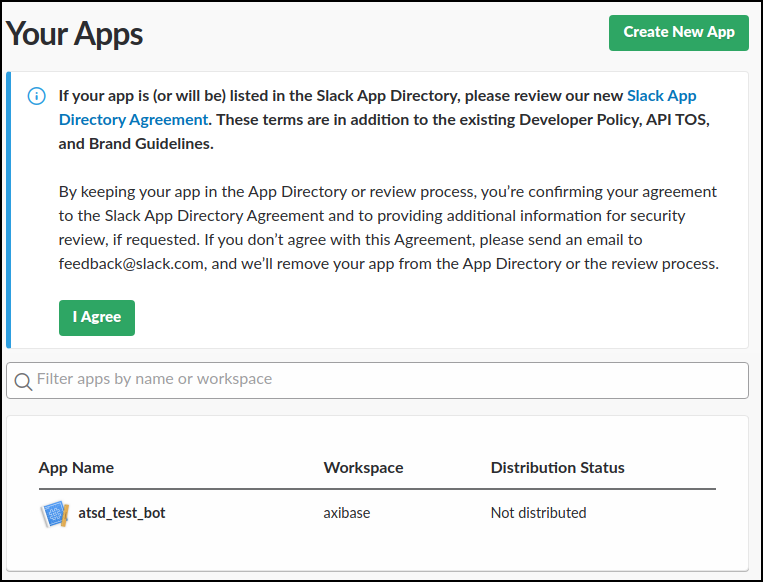
Create Slack Bot
Slack Bot is a special account created for automation purposes.
Open Slack Apps
Select an existing app or create a new one.
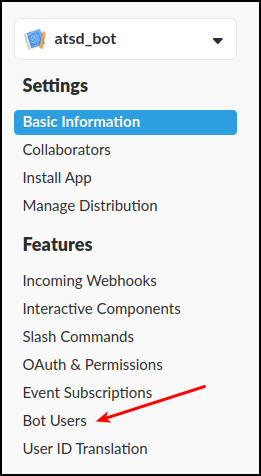
Create a bot user.
Click Bot Users.
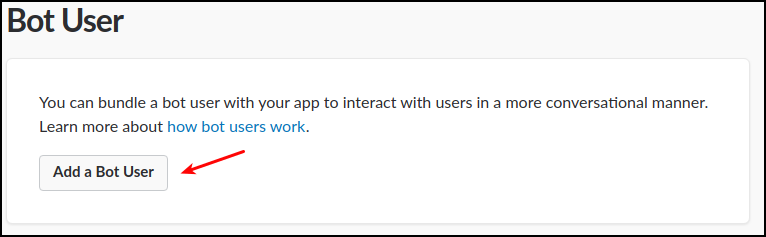
Click Add a Bot User.
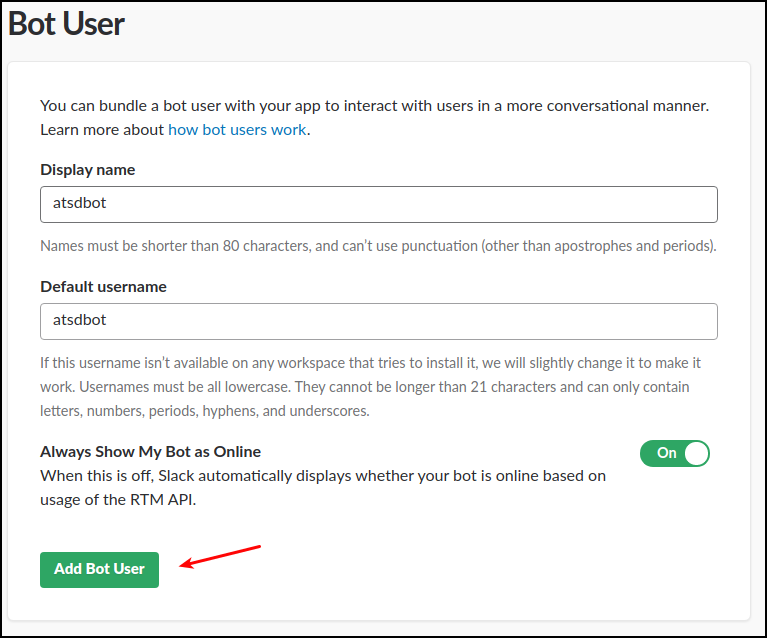
Review Settings, click Add Bot User.
Click Save Changes.
Subscribe to Bot Messages
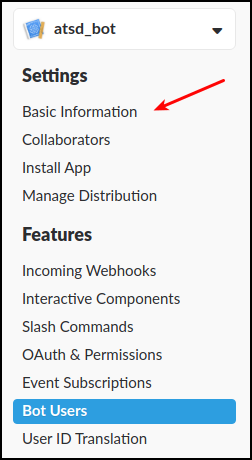
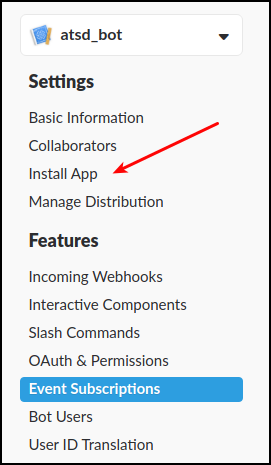
Click Basic Information.
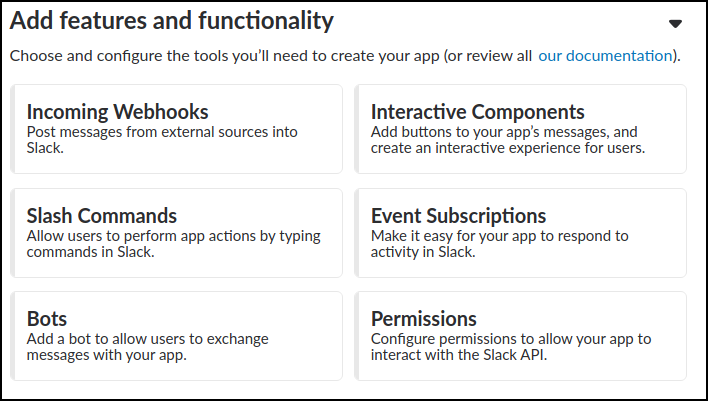
Click Add features and functionality.
Click Event Subscriptions, check Enable Events.
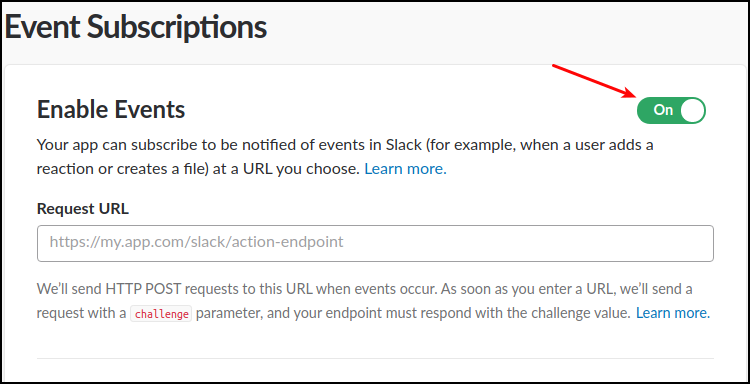
Perform the following actions to prepare a Request URL for accepting notifications from Slack servers.
Open the Settings > Users > Create Webhook User page in ATSD and create a webhook user for accepting data from Slack.

Replace user credentials and the DNS name of the target ATSD instance in the webhook URL below.
https://username:password@atsd_hostname:8443/api/v1/messages/webhook/slack?command.message=event.text&command.date=event.ts&exclude=event.event_ts&exclude=event_time&exclude=event.icons.image*&exclude=*thumb*&exclude=token&exclude=event_id&exclude=event.message.edited.ts&exclude=*.ts
The receiving ATSD server (or the intermediate reverse proxy) must be externally accessible on the DNS name and have a valid CA-signed SSL certificate installed. Self-signed certificates are not supported by Slack at this time.
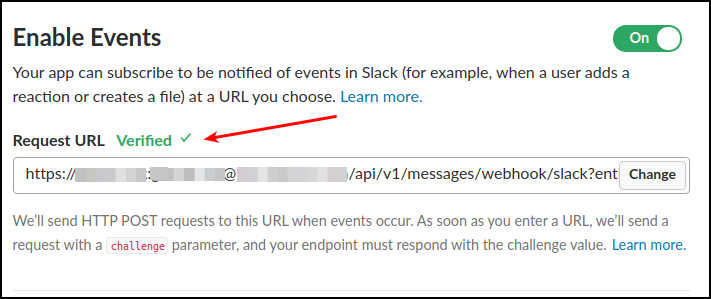
Enter the above URL into the Request URL field.
Verified status is displayed if the request evaluates correctly.
Click Add Bot User Event it the Subscribe to Bot Events section.

Enter
message.imto limit subscriptions only to messages sent directly to bot.
Click Save Changes.
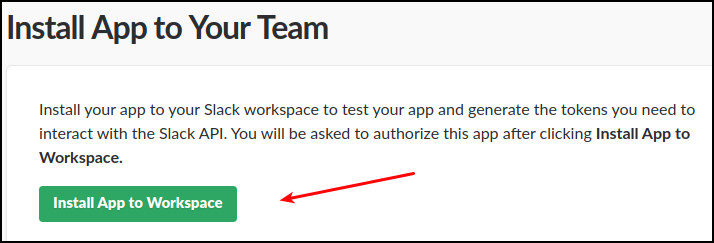
Click Install App.
Click Install App to Workspace.
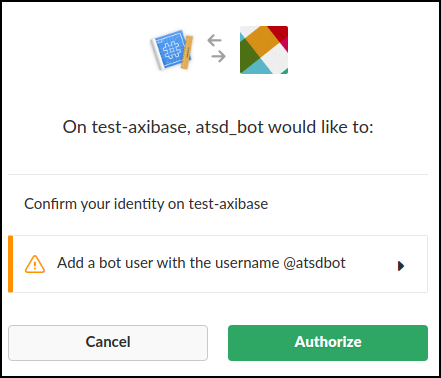
Review permissions, click Authorize.
Open Slack workspace, and ensure the app is visible in the Apps section.

Testing Webhook
Create/Import Rule
- Create a new rule or import an existing rule as described below.
- Download the file rules_outgoing_webhook.xml.
- Open the Alerts > Rules > Import page.
- Check (enable) Auto-enable New Rules, attach the
rules_outgoing_webhook.xmlfile, click Import.
Configure Webhook
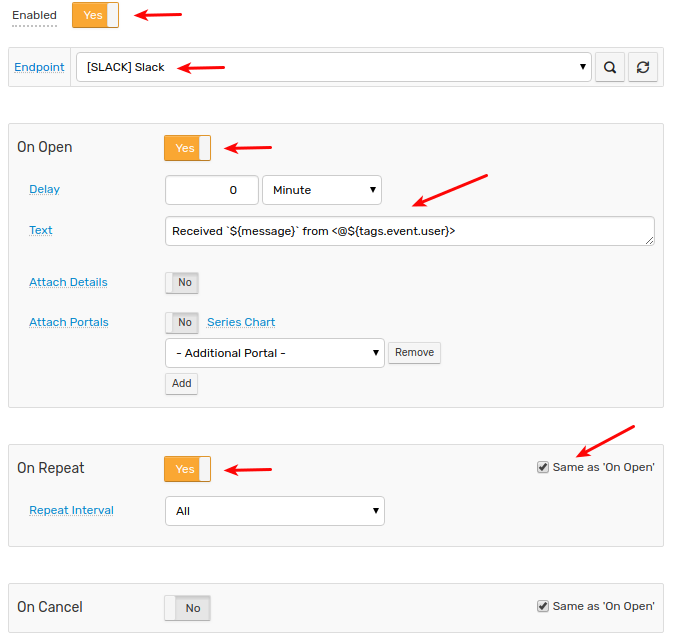
- Open the Alerts > Rules page and select a rule.
- Open the Webhooks tab.
- Select the notification from the Endpoint drop-down.
- Enable the
OPEN,REPEATtriggers. - Customize the alert message using placeholders as necessary, for example:
Received `${message}` from <@${tags.event.user}>
Click Save to save the rule.
Verify Webhook Delivery
Open the Slack workspace and send direct message to recently created bot.

- Note that message fields in JSON payload sent by Slack servers contain HTML entities for 3 characters:
- ampersand
&replaced with& - less-than sign,
<replaced with< - greater-than sign,
>replaced with>
Open the Alerts > Incoming Webhooks page and check that a request from Slack servers has been received.

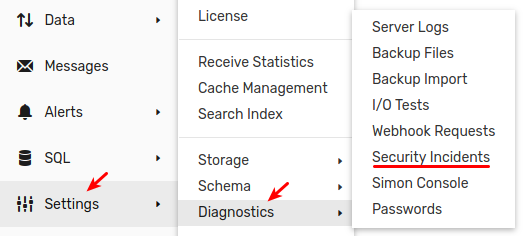
If the request is not visible, check the Settings > Diagnostics > Security Incidents page which displays an error in case the user credentials are mis-configured.

It can take a few seconds for the commands to arrive and to trigger the notifications. The rule creates new windows based on incoming
messagecommands. Refresh the Alerts > Open Alerts page to verify that an alert is open for your rule.